
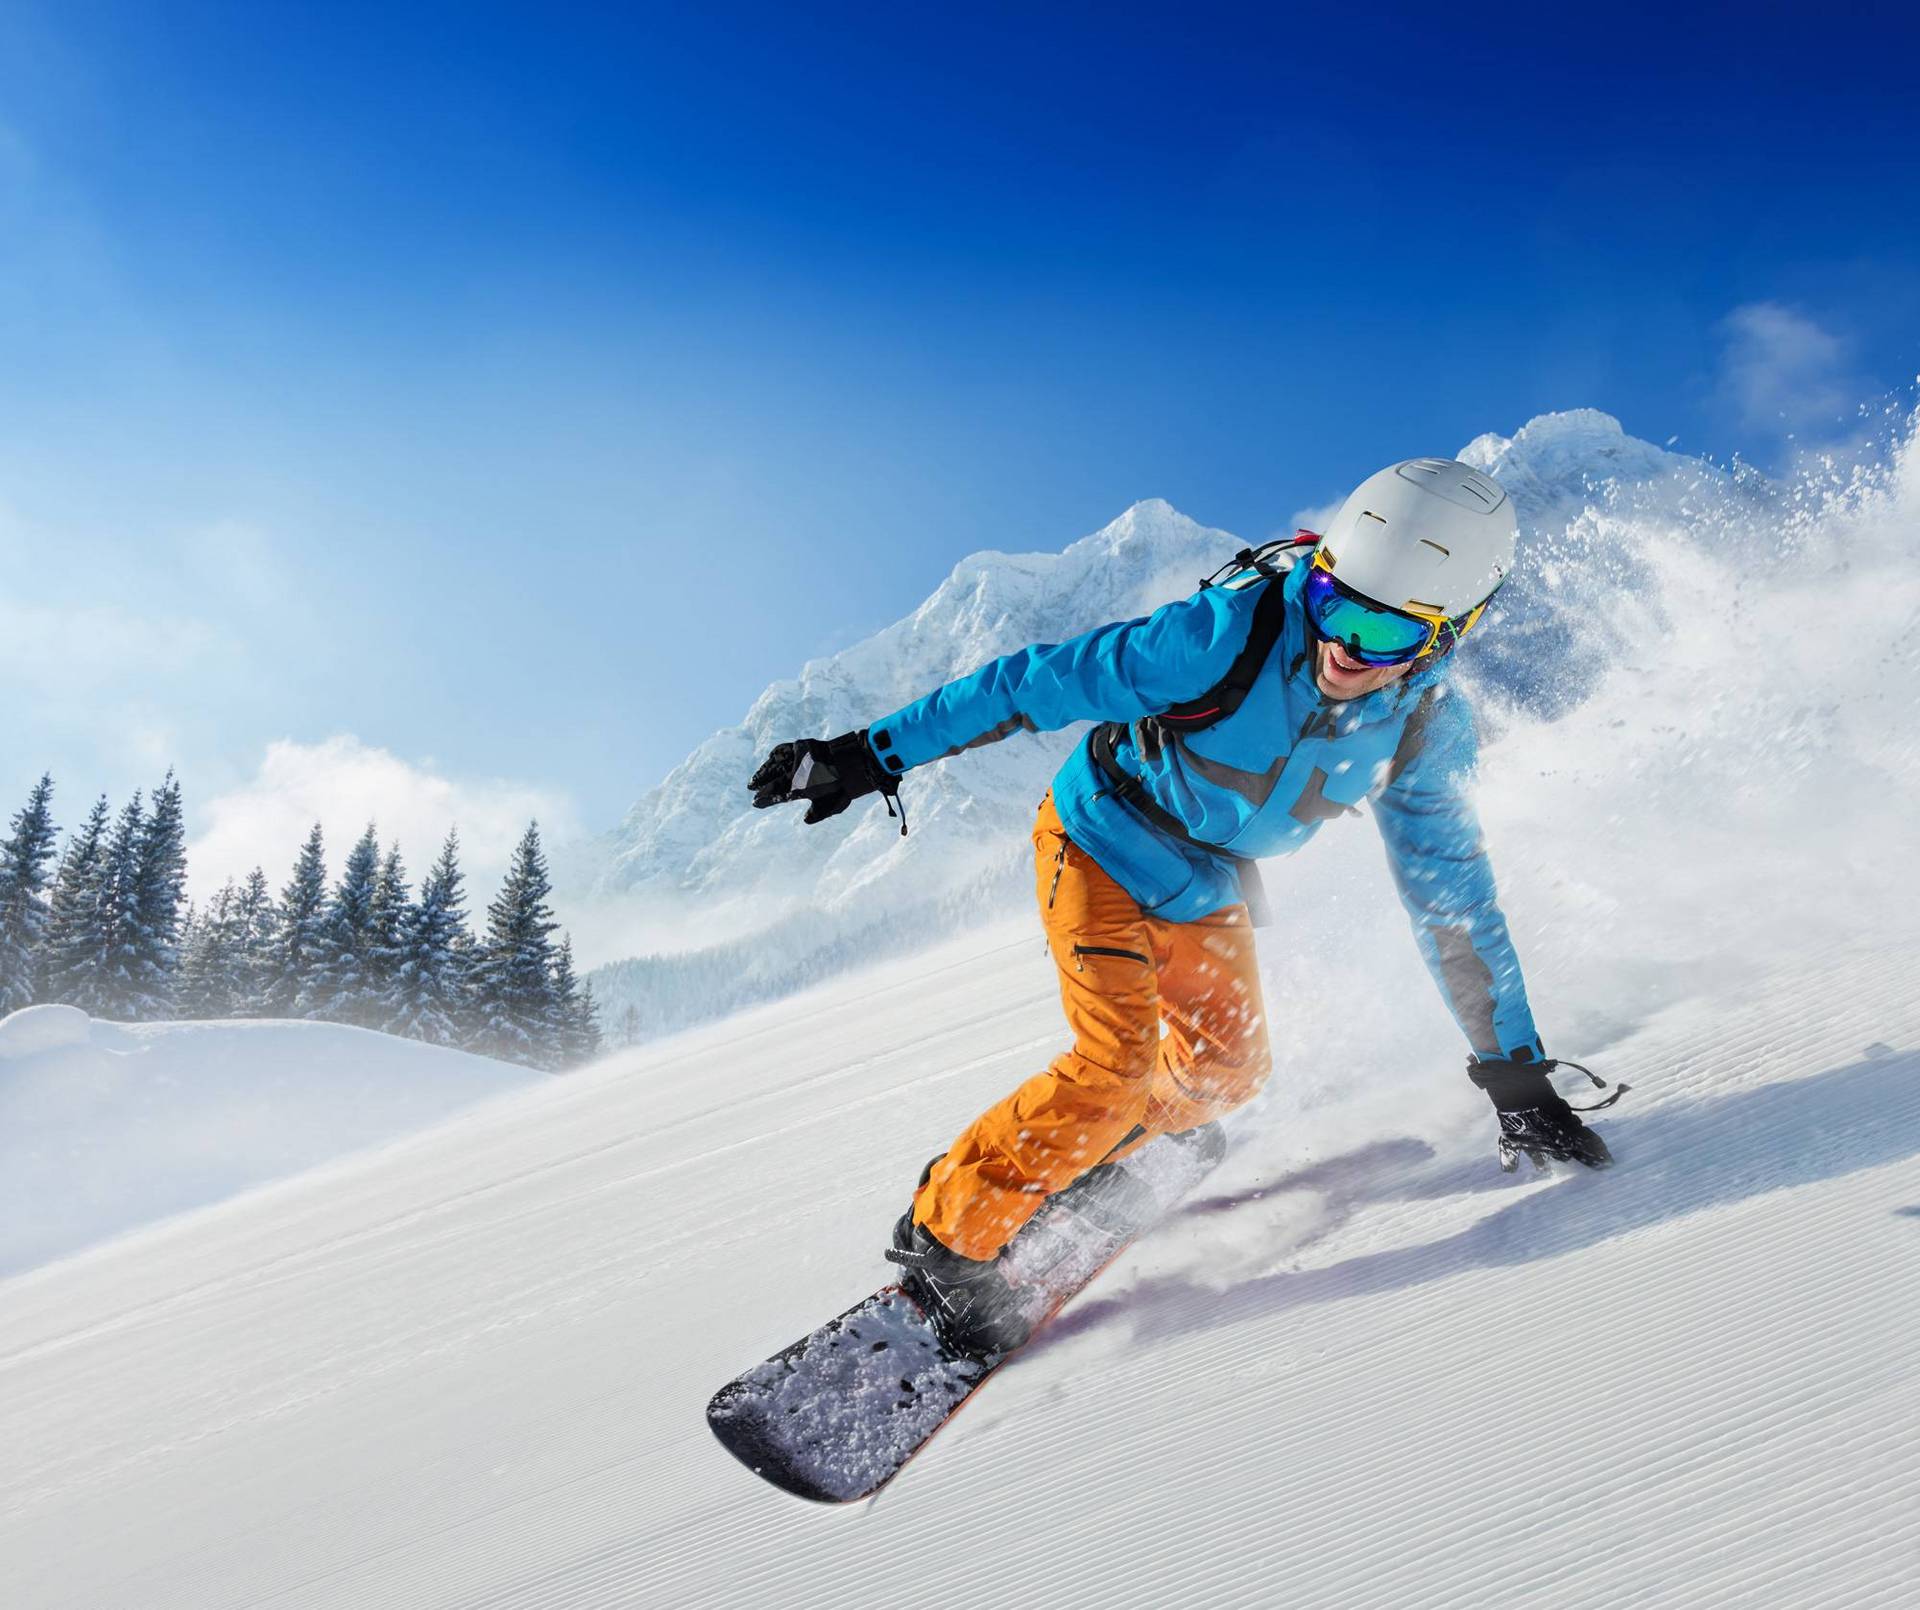
Tips for beginners and first exercises
Learning to snowboard for beginners
SnowboardsInteresting facts
Do you dream of gliding down the slopes on a snowboard, but are a complete beginner? The safest way to learn snowboarding quickly and professionally is to attend a snowboard school. Alternatively, you can start with dry exercises for balance and edge changes to get a good feel for the board. Practising how to fall correctly is also important. Then choose a flat slope to try your first runs and turns.
Sound feasible? Then we've put together a few specific, helpful tips for you here. Whether you're regular or goofy, we'll show you how to decide on the right position on the board, what equipment you need to get started, and how to master your first turns and braking. Because whether you're new to winter sports or already an old hand at skiing, snowboarding technique is very different from skiing and should be learned step by step.
In this blog post, you'll learn what really matters as a snowboarding beginner and you can get started right away.
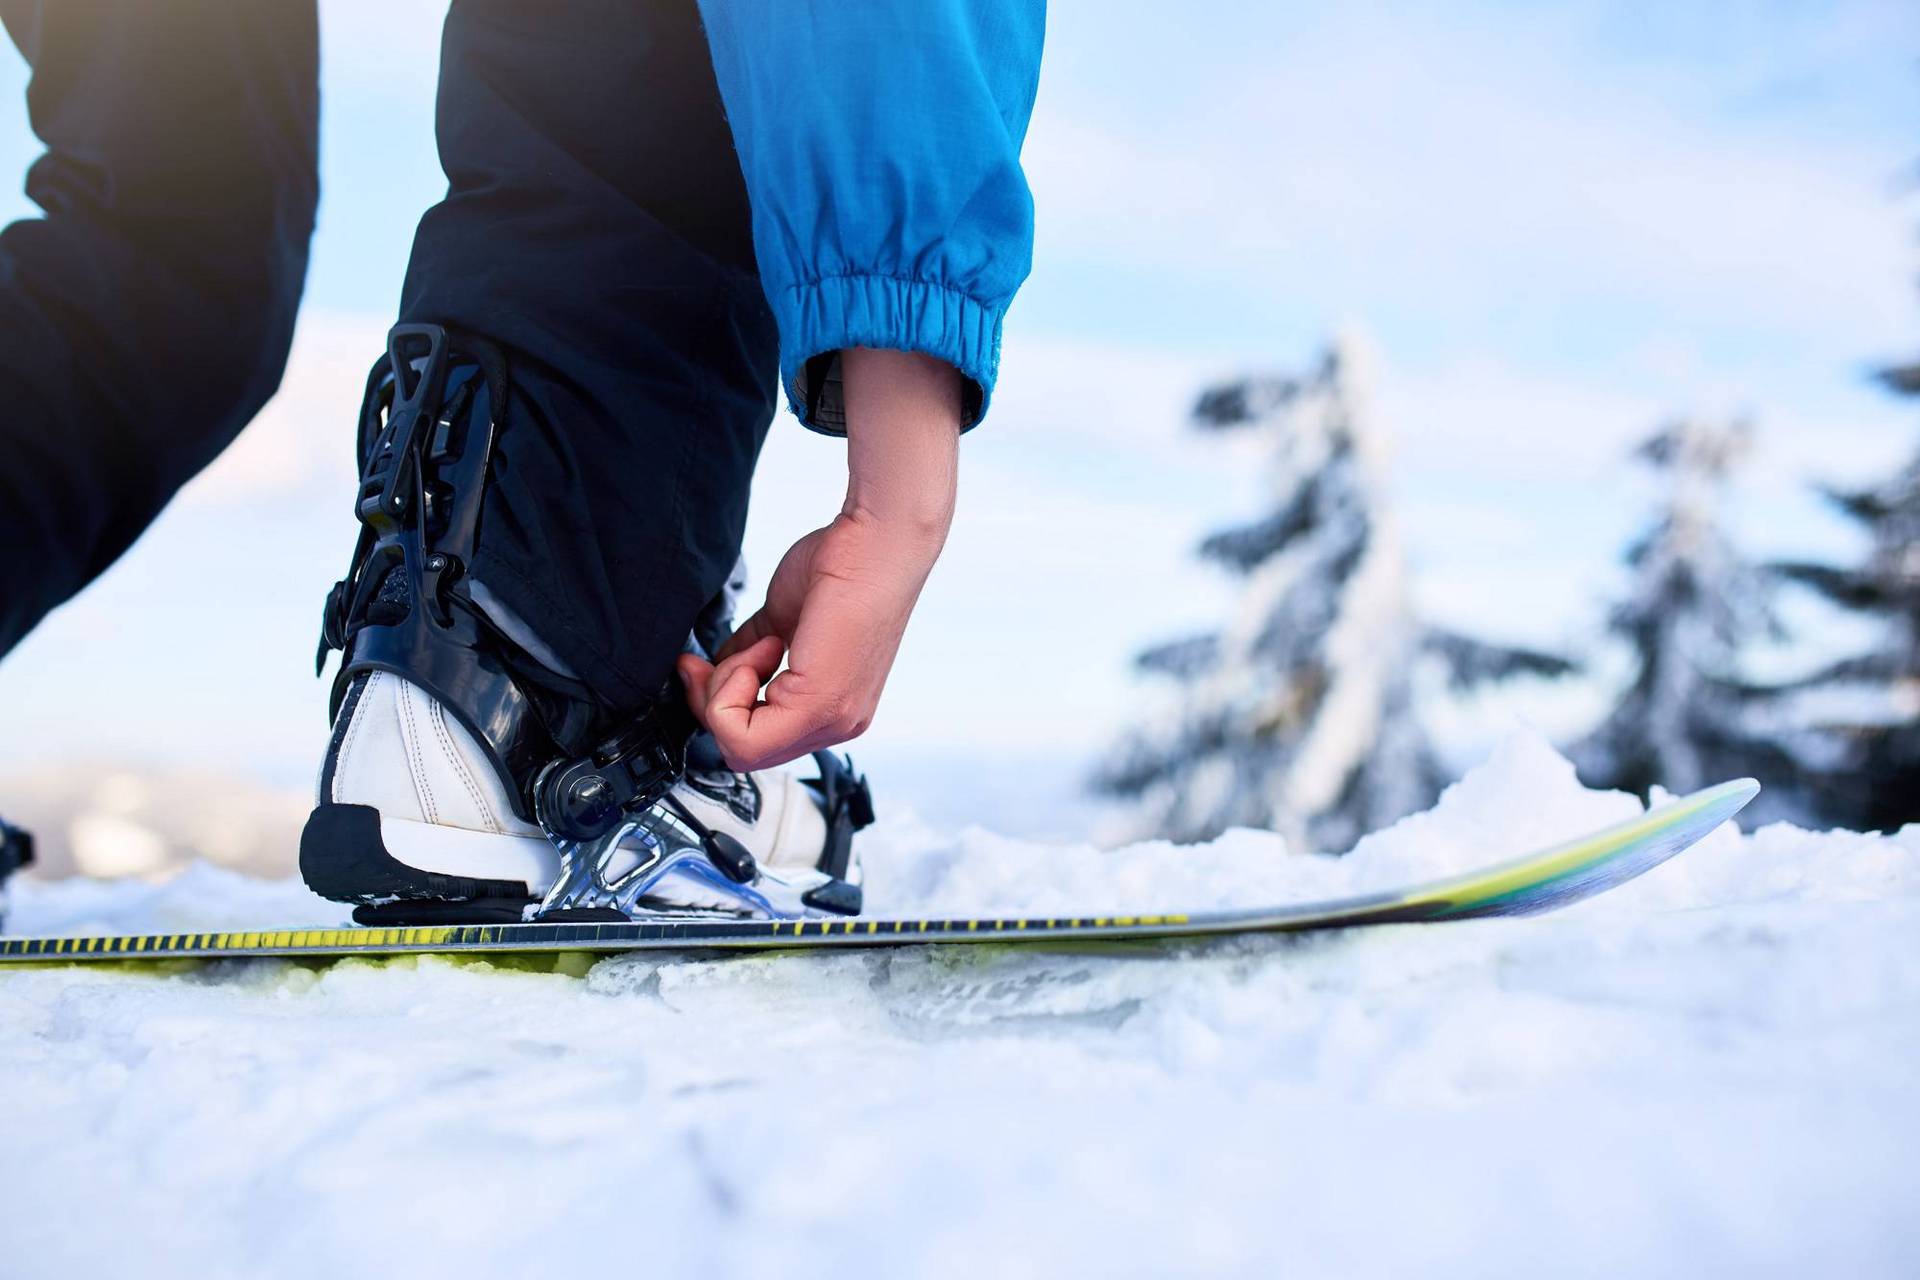
The right equipment as an important basis
The foundation for learning to snowboard as a beginner is having the right equipment. Until recently, the choice was between hard boots – similar to ski boots – and soft boots, but in recent years the latter has become the norm. This is because soft boots now offer perfect support and optimal control when riding. They are also much more comfortable than the rigid hard boots. But what equipment do you need in addition to a board, bindings and boots? Here is a brief overview:
- Snowboard trousers
- Winter sports jacket
- Scarf
- Hat
- Snowboard gloves (preferably with wrist protection)
- Helmet
- Goggles
- Back protector (if required)
- Knee pads (if required – similar to those used for inline skating)
Rent snowboard equipment at low cost
Admittedly, buying all this new equipment costs money. But it doesn't have to! If you're not yet sure whether snowboarding will actually become your favourite winter sport, it doesn't make sense to make such an investment right at the start. Why not simply hire your equipment from the SPORT 2000 rent snowboard hire service? With over 600 locations, you're sure to find the right ski hire partner in the Alps. There you can get comprehensive advice and hire snowboards, boots, helmets and much more at great prices. And if you discover that snowboarding is for you, our partners usually offer you the opportunity to purchase new equipment.
Regular or goofy – how to stand correctly on a snowboard
Until a few years ago, there was a clear distinction between the front and back of a snowboard. The reason: the nose was rounded, but the tail was not, so the nose should always be at the front. Nowadays, both the nose and tail are rounded, so you can ride down the mountain in both goofy and regular stance. But what does that actually mean?
- Regular: In this position, your left foot is at the front.
- Goofy: In this position, your right foot is at the front.
The most important thing for beginners when snowboarding is how you feel. It's all about finding out how you feel most comfortable when boarding. By mounting the bindings with your toes pointing outwards (duck stance), you can switch between positions and choose between regular or goofy depending on how you feel.
As you can see, it's no longer that important whether you ride goofy or regular. The only thing that mattersis that the bindings are perfectly adjusted to your needs (height and weight). The specialist staff at the rental shop will give you the best advice and adjust your board correctly.
Safe snowboarding:
How to stand up and fall correctly for beginners
First, familiarise yourself with the board, the gliding technique and how to brake. Find a flat surface to start with. Sit on your bum, step into the binding and fasten it. Then practise the first exercises for standing up correctly and falling safely:
Practise standing up
When standing up, you have the option of either standing up on the edge of your heels or the edge of your toes:
- Standing up on the edge of your heels: If you are sitting on your bottom and want to stand up, stand up on the edge of your heels and push yourself up with one hand behind the edge of your heels, while using the other hand to support yourself in front.
- Standing up using the toe edge: However, it is easier to start by standing up using the toe edge. To do this, pull the board towards you while sitting, turn 180 degrees onto your stomach, place the toe edge in the snow and push yourself up from the ground with both hands at knee height.
Practise falling
You should also learn how to fall correctly for safe snowboarding – you can do this without a board:
- Falling forwards: When falling forwards, it is important to bend your knees and support yourself with your bent arms. Avoid supporting yourself with your hands at all costs.
- Falling backwards: You should also practise falling backwards a few times, using your squat, bottom and rounded back, before you get on the board. Roll as well as you can without using your hands to break your fall.
Snowboarding for beginners:
First exercises on the board on flat terrain
You have now learned how to stand up and fall correctly. The next step is to stand well on the board on flat terrain and learn how to use your equipment optimally. There are several exercises for this:
Light squats
Stand with both feet evenly weighted, firmly in the bindings and on the board. Now squat down slightly and stand back up. Repeat this movement several times.
Shift weight
To make cornering easier later on, it is important to practise shifting your weight on flat terrain first to gain confidence. To do this, move your upper body alternatelyforward towards the nose and backward towards the tail of the board. Once you feel confident enough, you can try touching the ends of the board with your hands.
Stand on the edges
Now shift your weight alternately onto the toes and heels and keep moving forwards and backwards. This so-called ‘edging’ is extremely important later on for controlling direction on the board.
Small jumps on the board
To practise your balance and weight transfer, you can now do some light jumps with the board. If you slowly turn your upper body in one direction while doing this, you will already develop a good feel for how you can initiate turns by shifting your upper body weight. Now turn 360 degrees a few times with several small jumps and then change direction.
Practise pushing
Finally, you should practise pushing off with one foot so that you can move around on flat terrain and on the way to the lift later on. To do this, step out of one binding and push off in a similar way to riding a scooter. Your weight should be on the foot that is in the binding. Once you can do this well with one foot, switch and do the exercise with the other foot.
Additional information on posture – minus position & plus position
When you are standing on your snowboard and your shoulders are above the board, you are in the ‘minus position’ on the snowboard. You usually adopt this posture when braking on the toe or heel edge.
In the ‘plus position’, you turn your body so that your shoulders are almost at a 90-degree angle to the board. This type of upper body rotation is required when you want to initiate a turn.
First exercises on a slope
Now find a slope with a gentle incline or, ideally, a gentle counter-slope that is not used by too many skiers and snowboarders. When learning to snowboard as a beginner, it is crucial that you can deepen your skills in peace – without any hustle and bustle or stress. Sit down in the snow, step into the binding and fasten it. Now turn onto your stomach and stand up again on the toe edge.
- Sliding and braking on the edges: At the beginning, the heel and toe edges are probably the most important areas of the board, as they are used for braking. When you are standing on the toe edge, you can slowly slide down the hill. To gain some momentum, you need to turn your upper body slightly downhill. If you go too fast, simply return to the toe edge. Increasing the edge angle will automatically slow you down. Once you feel confident on the toe edge, brake, get down on your knees and turn around. Now practise the same thing on the heel edge.
- Initiating turns: When you are standing on the edge, gliding slightly down the slope and want to initiate a turn, you must slowly turn your upper body from the minus position to the plus position, thus rotating your upper body downhill. At the same time, put your weight on your front leg.
- Backside vs. frontside riding: Backside means you ride with your back to the slope, start on the heel edge and your weight is on your heels. If, on the other hand, you ride facing the slope and start on the toe edge with your weight on your toes, this is called frontside.
- Schussfahrt: Snowboarding also has its own version of schussfahrt – here, both shoulders are in the minus position above the board, your gaze is directed downhill and the board is flat. If you find yourself going too fast, you can turn your upper body again and brake on one of the edges.
Learning to snowboard – How to master your turns
Once you have mastered all these exercises perfectly, the next step is to learn how to turn. To do this, it is essential that you have already mastered all the techniques involved in gliding, schussing, backside and frontside turns.
These are the most important steps:
- Start by sliding in the right direction on your heel edge (backside).
- Rotate your upper body downhill, shifting your weight onto your front foot (left foot).
- Glide.
- Shift your weight onto your back foot (right foot).
- Move onto your toe edge (frontside).
If you now want to change direction:
- Glide on the toe edge with your face towards the slope (frontside)
- Slowly rotate your upper body downhill, weight on the front foot (left foot)
- Glide
- Shift your weight to the back foot (right foot)
- Move onto the heel edge (backside)
Learning to snowboard – 4 tips to finish
Once you've mastered standing up and the basic technique, you're almost ready to start your first fast runs. When snowboarding, be sure to keep the following in mind:
1. Check your surroundings
Before you set off, always look up and down to make sure the slope is clear and you're not obstructing anyone.
2. Using the T-bar lift
Step out of the binding with your back foot, push yourself towards the lift with it and hook the T-bar between your legs. When starting out, it's best to go with someone who already has experience and can help you keep your balance.
3. Riding a chairlift
Using a chairlift is much easier with a board when you are just starting out. Again, step out of the binding with your back foot, push yourself towards the lift and sit down in the lift. Then place your board on the bar.
4. Putting down your board
Want to put your board down in the snow for a moment? Always place it on the snow with the bindings facing down. That way, you can be sure it won't slip away.
If you follow these tips, you and your snowboard will soon be an unbeatable team. However, learning to snowboard is usually even more fun in a group – whether with friends on the practice slope right outside your front door or with real professionals in one of Austria's beautiful ski resorts.
Conclusion:
If you want to learn to snowboard quickly and professionally, it's best to attend a snowboard school. However, if you have enough initiative, motivation and a certain level of basic fitness, you can also get started on your own. Our exercises for balance and edge changes will help you get a good feel for the board. Practising how to fall correctly should not be underestimated either. Then you can choose a flat slope to try your first runs and turns.
On your snowboards, get set, go! The SPORT 2000 rent team wishes you lots of fun and success in learning to snowboard!
Frequently asked questions about learning to snowboard:
-
If you want to learn how to snowboard, it is best to book a snowboard course with a qualified instructor to learn the basics properly. Beginners then start with exercises on flat terrain, such as light squatting, shifting weight to the toe and heel edges, and pushing off with one foot. The correct posture is crucial here: always bend your knees slightly and look in the direction you want to go. Important exercises at a glance:
- Standing up: Stand up from a sitting or lying position by supporting yourself on the heel or toe edge. Position your hands close to your knees for support and squat slightly.
- Weight transfer: Shift your weight alternately from the toes to the heels. This movement will help you later when braking and steering the snowboard. Also move your upper body alternately forwards to the tip, also called the nose, and back to the tail. This will give you a good feel for your equipment.
- Small jumps: Try small jumps on flat terrain to train your balance and optimise your weight transfer.
- Pushing off: Practise pushing off the ground with one foot to move forward on flat terrain, for example towards the lift.
-
Skiing is generally considered easier to learn because the legs can be moved individually in this sport, which makes it easier to maintain balance and brake in a snowplough position. Learning to snowboard, on the other hand, is usually more difficult at first, as both legs are attached to one board and beginners first have to practise steering the board correctly. However, once they are familiar with the basic techniques, such as turning on the edge, snowboarders often make faster progress. But all this also depends on individual aptitudes and talents, as well as physical condition.
-
It usually takes 3–5 days to learn the basics of snowboarding with the help of a course. After 20–30 hours of practice, most beginners can then ride on easy, blue slopes and feel confident on the board. However, it is important to be patient and listen to your body so as not to overdo it. The learning process is individual and depends on many factors, such as age, basic fitness, concentration, and your own inclinations and talents.